
Engineer-to-order (ETO) companies develop and sell sophisticated one-of-a-kind solutions that get tailored to specific customer demands. Thus, each customer order is an individual project. These ETO projects typically run rather long (compared to production orders in a make-to-order environment, MTO). Also, contrasting to MTOs, the dominant resources utilized in an ETO project are humans (engineers) and not machines.
Numerous cases which we have observed working with our clients reveal that most ETO companies have a common challenge. This challenge is planning their design and engineering activities. Ultimately, it boils down to finding the right planning tools and establishing appropriate planning processes.
This blog post reveals 12 concrete steps that ETOs should apply to achieve effective engineering-to-order project management when they work with Microsoft Dynamics 365 Business Central.
The ETO project management challenge
The challenges of managing the design and engineering originate in the context in which these are performed, namely ETO.
- Need to quote and execute multiple long-running projects simultaneously.
- Constantly changing customer requirements - especially in the quoting phase.
- Customer expectation to provide reliable fix-priced quotes, and to keep the quoted delivery time.
- No pre-configured delivery scope. In the words of an ERP system: no standard BOMs (bill-of-material), but need to create a unique BOM per each project.
- Oftentimes dependency on a few high-cost items with long lead times.
- Scheduling of human resources (not "simple" machines) - with some activities being performed in-house while others are performed on the clients' site.
These challenges lead to so many variables that it makes it impossible to realistically simulate them in an all-embracing model.
When the complexities are so many, you need, on the one hand, to find solutions that enable your project teams to deal with them without adding an unnecessary workload. On the other hand, you require solutions that facilitate relevant information and insight to arrive at the right people at the right time so that you can make the best possible decisions.
The ETO project planning purpose ... and what it requires in Business Central
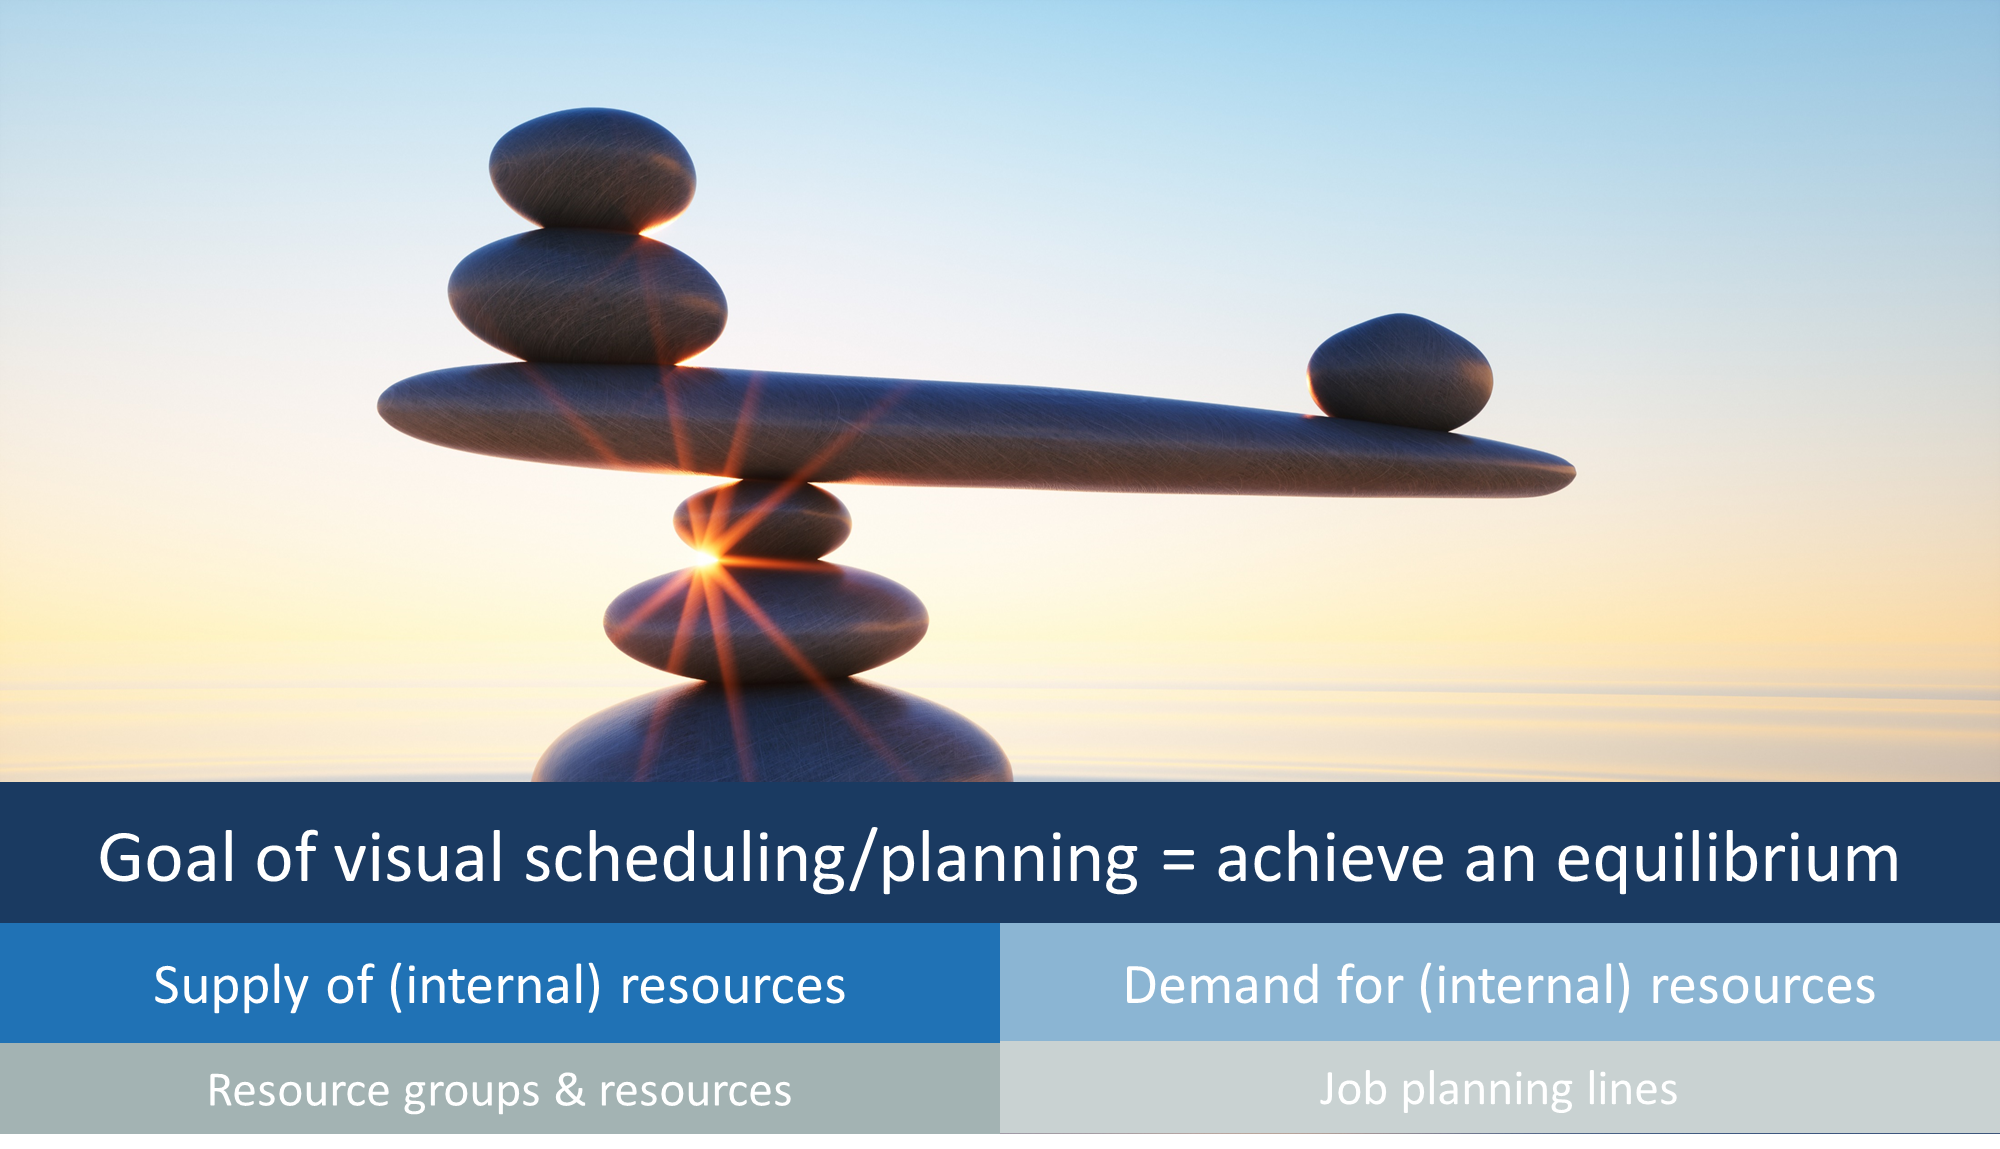
Ultimately, the purpose of project planning is to achieve an equilibrium between the demand for and the supply of (internal) resources. The better both of them are balanced
- the smoother the execution of the project
- the more reliable the delivery time commitments
- the better the resource usage
- the less stress for all parties involved
In terms of Microsoft Dynamics 365 Business Central, the supply of the resources is defined by
- resource groups
- resources
- and the resource calendar.
The demand for those resources is defined by the job planning lines. They give the information of when which resource is required for how long. However, job planning lines cannot exist without job tasks, and job tasks cannot exist without a job. Hence, the demand for internal resources is defined by
- Jobs
- Job tasks
- Job planning lines
12 concrete steps to achieve effective ETO project management
OK. Enough fundamentals and conceptual thoughts. Let's get hands-on and become actionable. Here are the twelve steps that I recommend for any ETO organization that works with Dynamics 365 Business Central, and that wants to achieve effective project management.
Some of these steps can be done with the standard Business Central jobs and resource planning modules. Some other steps require our extension called Visual Jobs Scheduler (VJS). The VJS is the product planning and resource scheduling drag & drop frontend to those standard Business Central modules.
Step #1: Create resource groups (Business Central)
First of all, you should set up resource groups in Business Central.
Looking at Business Central alone, this is not a must-do. However, from a resource scheduling perspective, it helps to have resource groups. With resource groups, you can (visually) bundle resources.
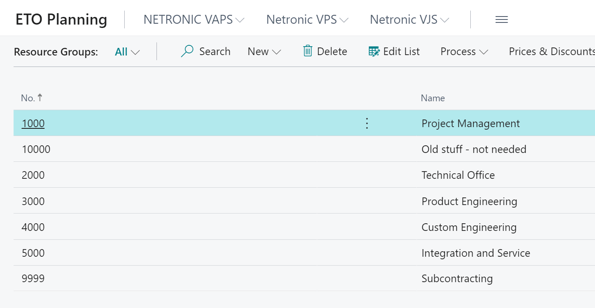 In general, you are completely free concerning how you define your resource groups. As you are an ETO company, I recommend that you use functional criteria for this setup. For example, create
- one resource group for your project managers
- one for your technical office (the team that does the CAD and all technical specifications)
- one for your product engineering team
- one for your custom engineers and
- for your field team that services your solutions
Step #2: Create resources and "dummy resources" (Business Central)
Once you have your resource groups in place, you can create your resources.
Make sure you add the right resources to the appropriate resource groups.
In addition to setting up your standard resources, I also recommend that you create at least one dummy resource within each resource group. With this, you can work around a weakness that the standard Business Central system has. With Business Central, you cannot assign work to a resource group. We found this to be very unpractical - also and especially for ETOs.
I bet that you have no interest to plan as granular as on the single resource level when you quote your next project. Instead, I am confident that your approach is something like "I need to plan 6 days of project management for the kick-off phase". Guess what: Business Central does not support this out-of-the-box but forces you to assign the work to a specific project manager. The dummy resource is meant to function as a resource group. You should use it for rough planning purposes - when you need to check the overall capacity, but do not care about who exactly is going to the work.
Pro tipp: if you use the string $VJSRG$ at the beginning of the dummy resource's number, we treat that resource visually differently in the VJS. That way the VJS allows you to also roughly plan your projects on a groups' level.
Step #3: Assign the capacity to all your resources (Business Central)
The final step to make on the capacity supply's side of things is to assign the capacity to all your resources. In terms of the Business Central resource planning module, this means that you need to define the daily work hours for every resource.
If you followed my recommendation and also created dummy resources within every resource group, you also need to define their capacity. My recommendation is that you use the "typical" capacity of all "real" resources of that group as the capacity for the dummy resource group.
An example: you have five resources in one group. Four of these five resources have a 40 hours work week, while one resource just works 30 hours a week. In that case, I would create a 40 hours week calendar for the dummy resource. This is precise enough and sufficient for your project planning purposes.
Step #4: Create a new job as a template job, and its job tasks (Business Central)
 Now that you are done with defining your supply of internal capacity, let's create some demand. Set up a new project, which is called "job" in Microsoft Dynamics 365 Business Central.
If you have repeating project structures (and I bet: you have!), create this job as a template that you, later on, can use to make your "real" jobs. For purpose of building a template - and for the sake of effectiveness - just define job tasks. They shape the structure of your project and determine what needs to get done. Business Central also allows you to indent job tasks and thus build a project task hierarchy.
Please notice that the job task number isn't of the data type "number". Instead, it is an alphanumerical field. Hence, make sure that you do not start numbering with 1, but e.g. with 1,000 (if you have less than 9,000 tasks). This ensures that your job tasks show up in the order of sequence that mirrors the number you give them.
Your template job does not need information about who and when (aka job planning lines). This information can get defined via the Visual Jobs Scheduler in a much more efficient way.
Step #5: Set a (random) duration on the job card (Business Central)
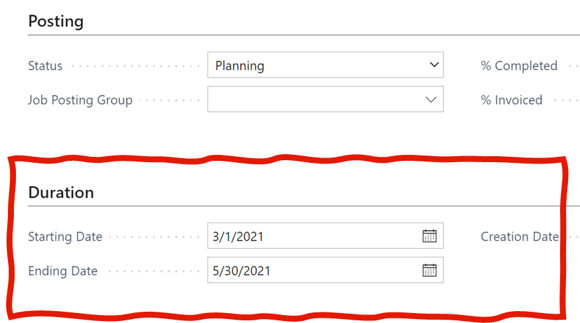 With step #4, you have your (template) project structure in place. As recommended, you have not yet created any job planning line. This means that your project does not yet have any timing information. As result, it would not show up in a visual scheduler that is meant to visualize time- and resource-oriented planning data.
To show up on the VJS, set a start and end date for the (template) job on the job card. You can replace or delete it later once you built a new job on that template. However, you have to do this initially so that the job template appears in the graphical display of the VJS.
Step #6: Assign (dummy) resources to your job tasks (VJS)
While having the template job with its job tasks is a good first step, it is not enough. For proper project planning and resource scheduling, you also need information about
- the who (which resources should work on which task) and
- the how long
The good news is: both settings can be done graphically with the Visual Jobs Scheduler. They do not require any daunting data entries in Business Central tables.
You now should open the Visual Jobs Scheduler. While doing so, you ideally apply a data filter so that you only see the template job that you just created. In the Jobs View, you then can toggle the "creation mode" and drag and drop resources to the respective tasks.
Of course, I recommend that you initially just drag your dummy resources. That way, you determine that a specific task should get done by a certain group of people (e.g. your project manager) without assigning it yet to a person. When dragging and dropping a resource to the job task, a job planning line is created automatically.
By the way: when dragging and dropping the resource to the task, you can also specify how much time this resource should need to perform that task.


Step #7: Link the project tasks (VJS)
Typically, your project tasks follow a certain structure and sequence of order. Some tasks can happen in parallel, while others require other tasks to finish before they can start. This kind of dependency is something that is missing in Microsoft Dynamics 365 Business Central.
Again, here is some good news for you: This missing gap (precisely: the missing links) is closed with the VJS. Just right-click on a job task (or a job planning line) and start the visual link creation. You can link jobs, job tasks, and job plannings as well as any combination thereof.
Pro tipp: If a task has to wait a few days after the predecessor task got finished, you can also define a link duration.

Step #8: Time-schedule the job template (VJS)
Complete the work on your project template. Time-schedule it. With links in place, you can just move the first task (or job planning line). This triggers the VJS "scheduling engine" and all dependent job planning lines are automatically scheduled.
With this, you have a job template in place. It comes with
- the structure of the project (job tasks)
- the definition of the resource demand (which resource groups, and how long/how much per task)
- the dependencies between all tasks
- the time structure of the template
Step #9: Create a project from the template (Business Central)
Now quickly back from the Visual Jobs Scheduler to out-of-the-box Dynamics 365 Business Central. An often overlooked, but very efficient functionality is the capability to copy a job.
With a job template in place, you can quickly create a new project - if you get a new job with a similar project pattern. Thanks to the work you did with the template, this project comes with a rough resource demand already. Even better: this rough resource demand is also time-scheduled upon the creation of the new project.
Step #10: Time-schedule the project (VJS)
Open again the Visual Jobs Scheduler. However, this time not filtered on the template. Instead, filter in your projects. Those that are running and those that you need to plan and schedule.
For the new project that you just created, I recommend starting in the Job View. Here you can time-schedule it again. Initially, it shows the timing you copied from the job template. In the Job View, just grab the project bar and move the project (right) to its intended start time. All underlying job tasks and job planning lines will move accordingly.
However, time-scheduling isn't just to change the start and end time of the project, tasks, or planning lines. The template only can work with average times per task. For example, it might be, that a certain project scope on average requires 100 hours of CAD work from your technical office. The current project that you schedule is less sophisticated and only requires 80 hours. With the VJS, you can also change the required quantity on the right mouse click. Once done, the length of the bar automatically updates.
You can do this for many job planning lines. Once done, go back to the first one where you did this and select "schedule successors". This triggers the VJS scheduling engine to run. With that, the time schedule for the entire project is updated automatically.
Step #11: Split job planning lines (VJS)
Now review your time schedule again. There might be tasks that you planned very rough initially and that require another make-over again.
What, if in the above example not 100, but 120 hours of CAD would be needed? What, if the project would have a tight schedule? An option to accelerate the project could be to assign the task to two engineers in your technical office. That means not one person 120 hours, but two persons with 60 hours each.
This scenario is supported by the Visual Jobs Scheduler as well. On a right-click on a job planning line, you can select to split that planning line. And the next good news: if you do so, we not only split the planning line but also make sure that all links associated with the initial job planning line get copied.
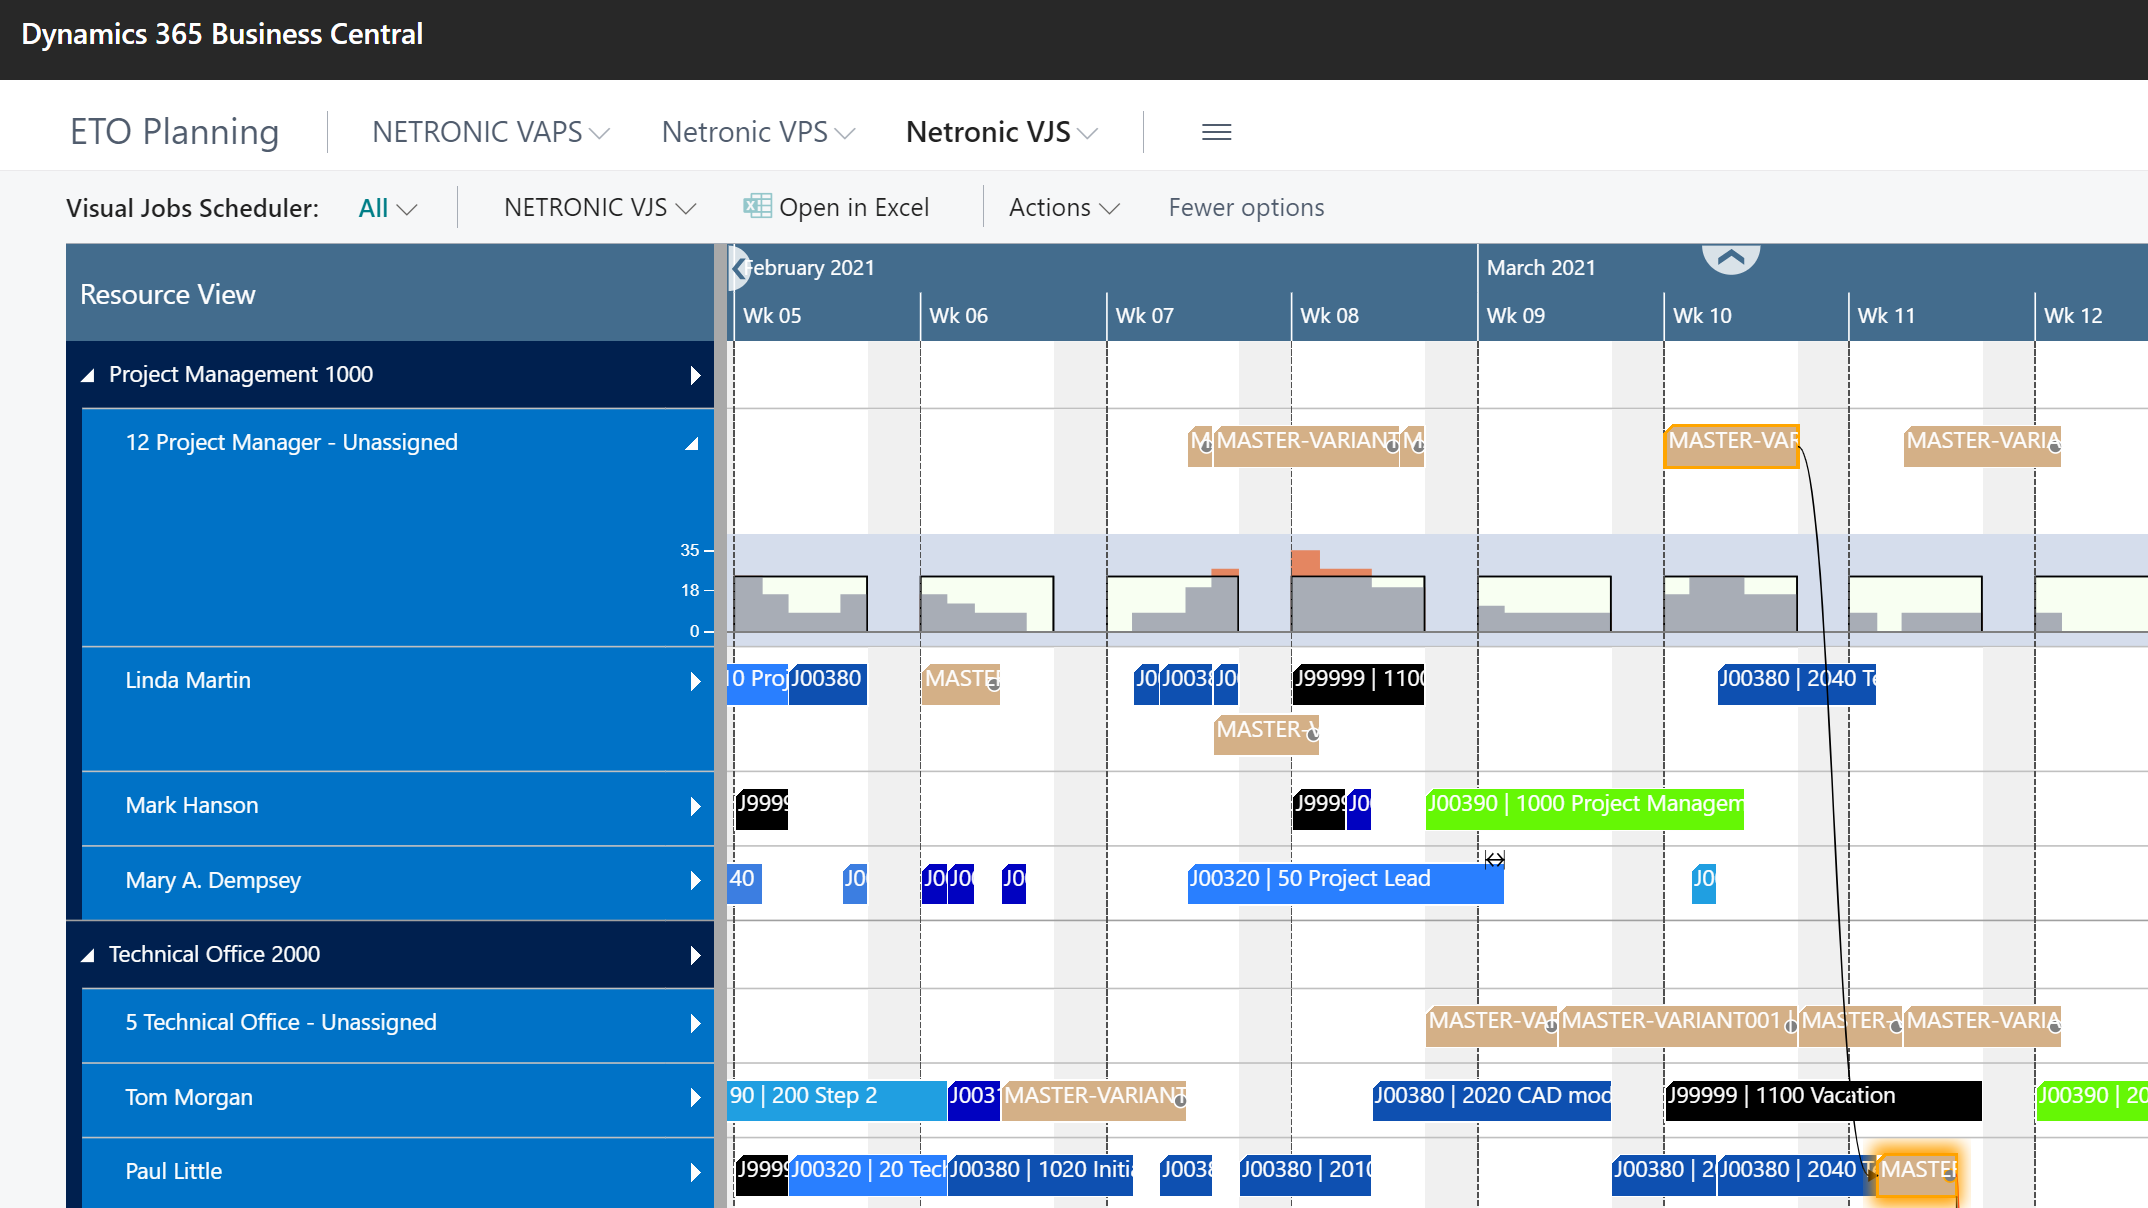
Step #12: Assign job planning lines to resources (VJS)
The final step to an effective engineering-to-order project management with Business Central is resource scheduling.
You can achieve this in the Resource View. Here, you can drag and drop the job planning lines from the dummy resource to those resources that will have to do the work.
Visual tools like the histogram (capacity utilization chart) help you to quickly see where you have capacity issues, and where you have to potentially change the timing of the project again, or split the work into more pieces, or move out assignments from other jobs.
With these twelve steps, you can go from zero to effective engineering-to-order project management. It does not require more than vanilla Microsoft Dynamics 365 Business Central and the Visual Jobs Scheduler extension.
Book a meeting with a visual scheduling expert to assess if and how you can achieve the same.

Or have a look at this video from our YouTube channel, in which we recorded a webinar that showcases all those twelve steps in less than an hour.